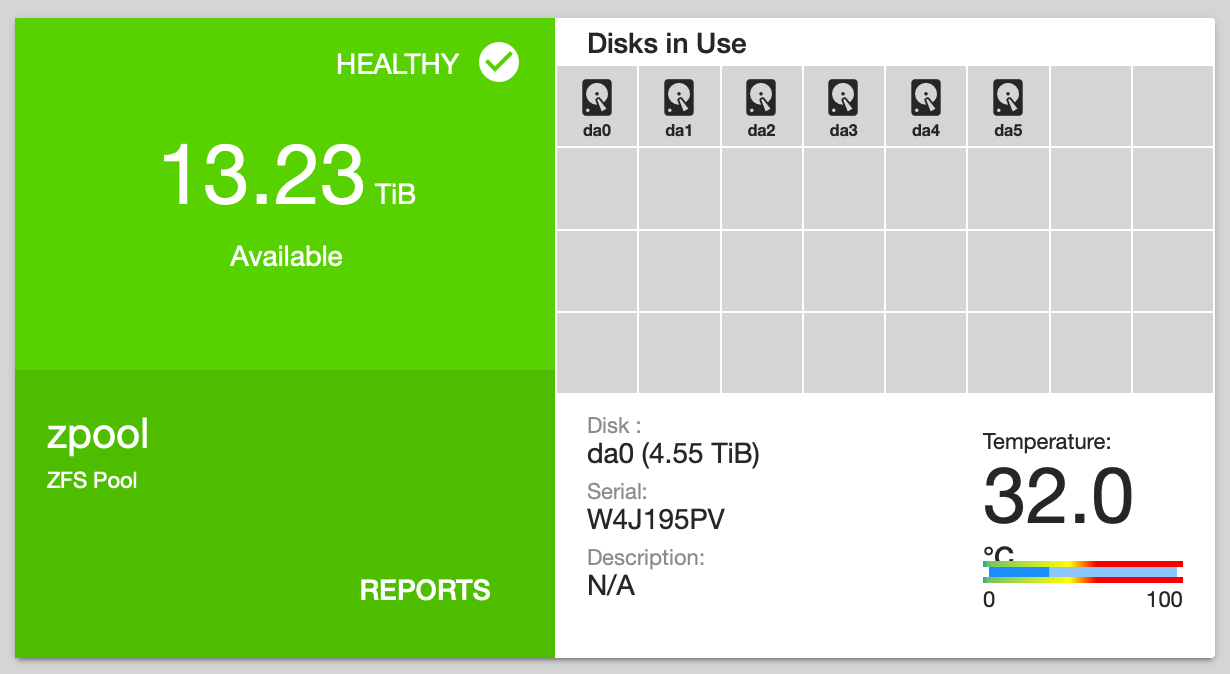
Quickly approaching 85% utilization of my pool, I found myself in need of more storage capacity. Since the first revision of this project’s hardware was scrounged together on a small budget and utilized some already-owned drives, one of my vDevs ended up being a RAIDZ1 vDev of only 3x2TB. Adding more vDevs to my pool would require either an additional HBA (not possible with my now-undersized motherboard’s single PCIe slot) or a SAS expander. In either case, I would need the drives themselves. I figured that this was a good opportunity to experience growing a ZFS pool by increasing the size of a vDev’s disks.
ZFS does not support “growing” of arrays by adding disks (yet!), unlike some other RAID and RAID-like products. The only way to increase the size of a pool (think of it as pooling the capacity of a bunch of individual RAID arrays) is to add vDevs (the individual RAID arrays in this example), or to replace every single disk in a vDev with a larger capacity. vDevs can be constructed out of mixed-size disks, but are limited to the maximum capacity of the smallest disk. For example, a ZFS vDev containing 2x 2TB and 1x 1TB disks has the same usable capacity as one containing 3x 1TB disks: the “extra” is ignored and unused. Replace the lone undersized disk, however, and ZFS can grow the vDev to the full available size.
Expanding vDevs is a replace-in-place strategy that essentially works the same as rebuilding (“resilvering”) after a disk failure. Recent versions of ZFS support manually replacing a disk without first failing it out of the vDev, which means that on single-parity (RAIDZ1) vDevs this process can be accomplished safely, without losing fault-tolerance. The FreeNAS documentation provides more information and instructions.
Growing by “too much” is not recommended and will result in poor performance, as some metadata will be an non-optimal size for the new disk size. As far as I have read (unfortunately I can’t find a link for this), it’s definitely “too much” around an order of magnitude, although aiming for no more than a factor of five is probably wise. For my case, as an example, we’re growing from 2TB disks to 6TB disks, which is only a factor of 3. This should be perfectly fine.
Speaking of 6TB drives… Hard drives may be cheap in historical terms, but there’s still value in being thrifty. For my use-case, which currently includes read-oriented archival storage, grown mostly write-only and used for backups and media storage, accessed by 1Gb network links, the performance requirements are rather low. The data is (mostly) replaceable, so single redundancy is adequate. This means that I can safely use the cheapest hard drives possible, which are currently found in Seagate Backup Plus Hub 8TB carried by Costco for only $129. (At the time I purchased, the last of their stock of the 6TB variant was being cleared for even cheaper.)
These drives are Seagate Baracuda ST8000DM005, which are an SMR drive. This technology, which has been used to great effect to increase the size of cheap consumer drives, essentially by overlapping the data on the platters, is only really suitable for write-once use and is known to be rather failure-prone. However, these have plenty of cache and perform just fine for reading, and adequately for writing, so are perfectly acceptable for my use-case.
Growing the target vDev was fairly straightforward. I had extra drive bays unused so simply shucked the drives from their plastic enclosures and proceeded one at a time. After formatting each disk for FreeNAS, I initiated the resilvering process. This took somewhere between 36–48 hours to resilver 1.7TB of data per drive. I found this performance rather poor, but was not able to locate an obvious bottleneck at the time. In hindsight, inadequate RAM was likely the cause. After resilvering I removed the old drive to make room for the next replacement. Although my drive bays are hot-swap (and this is supported by both my HBA and FreeNAS), I didn’t label the drive bays when I installed them initially and had some difficulty identifying the unused drives. The best solution I found was to leverage the per-disk activity light of the Rosewill hotswap cages.

With capacity to spare, I can finally test out some new backup strategies to support, such as Time Machine over SMB.