After two years of trouble-free service running FreeNAS and Ubiquiti’s UniFi Controller under an Ubuntu Server 18.04 VM, it was finally time for some upgrades. Although I was able to expand my storage capacity by growing a vDev of old, small drives, I wanted to take this opportunity to future-proof and expand my capabilities.
Goals:
- GPU for passthrough. My system has more capacity than needed for its primary tasks, so I want to try out VM gaming.
- Better network monitoring and control.
- Full-size motherboard. Although this project originally started life as a mini-ITX build, my needs have changed, and I am no longer size-constrained on my case.
- More SATA devices. Using slow consumer spinning platters means I can put a large number of drives on a single HBA before exceeding the available bandwidth and creating a performance bottleneck.
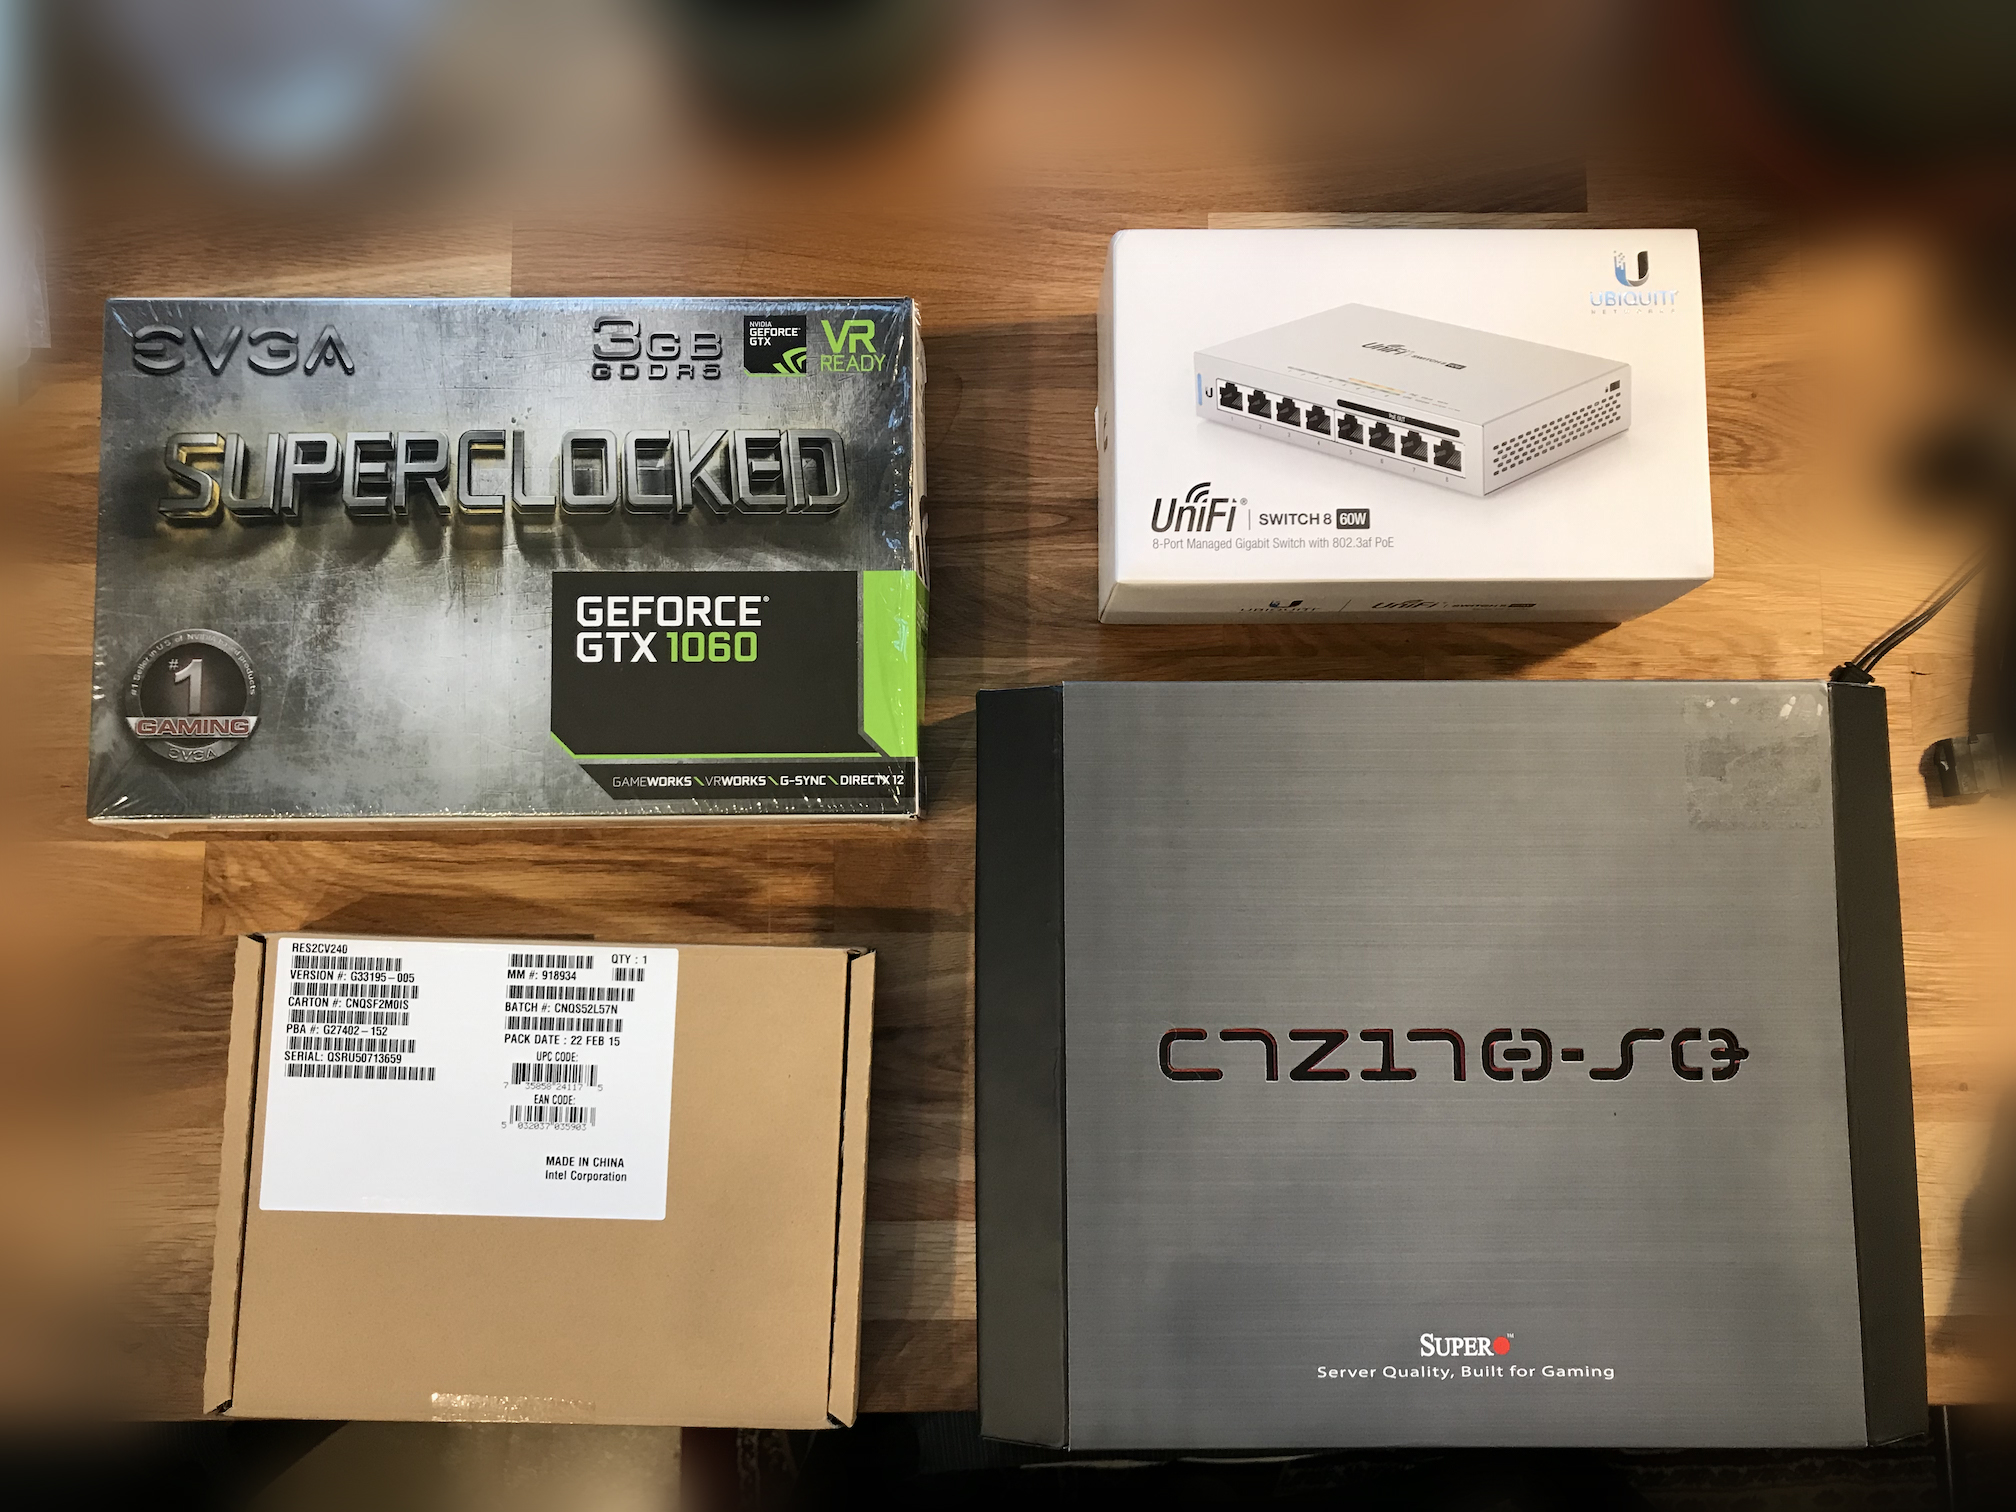
As pictured, clockwise from upper left:
- EVGA Superclocked GeForce GTX 1060 3GB—Craigslist, $140 with 2 years mfr. warranty, used/like-new
- Ubiquiti UniFi 8-port Gigabit Managed Switch with 4 PoE (US-8-60W)—eBay, $109 shipped, new/open box
- SuperMicro C7Z170-OCE-O LGA 1151 ATX Intel Motherboard—eBay, $165 shipped, new/old stock
- Intel RES2CV240 24-Ports SAS / SATA 6.0Gbps RAID Expander Card—eBay, $149 shipped, new/open box
The GPU was selected by crawling Craigslist for every local listing with “GeForce”. I then constructed a spreadsheet of the listings and calculated the PassMark/$ score to find the best value. At 64 PassMarks per dollar, this EVGA card was one of the best value outside of 1080 and 1080TI models previously used for cryptocurrency mining. Crypto mining is to GPUs like drifting is to cars: you can do it safely, if you’re careful, but when buying second-hand the deals aren’t worth the potential headache of having a unit that’s been thrashed. The 1060 class cards also have enough performance to run current-gen games at decent settings.
I purchased the Unifi Switch because I was experiencing some bizarre network performance issues with the server. After way too much mucking around on the software side of things I discovered that it was just the consumer-grade Intel NIC on the server motherboard dying (as they are known to). I switched to the other, unused NIC (an Atheros unit) and my connectivity problems went away. It was too late to cancel the order, and I figured that it would be nice to have a managed switch with PoE anyways. Unfortunately it turns out my UAP-AC-LR was cheap for a reason: despite packaging to the contrary, it predates that model’s support for 802.3af standard PoE and requires 24V passive… Oh well, no real loss.
The motherboard was chosen by chance, as I was browsing Newegg for compatible models and was surprised to see that SuperMicro made a desktop gaming-oriented motherboard. A quick trip to eBay surprised me even more with this inexpensive new old stock unit, which I quickly purchased. Single 1GbE, no WiFi/BT, but with Thunderbolt-capable USB 3.1 module. Interesting possibilities abound.
The Intel SAS Expander I found by recommendation on one of the forums, either FreeNAS, ZFS, or ServeTheHome (I can’t recall). This model is particularly desirable not only for its performance to cost ratio, but because it supports dual uplink configuration. Two SAS ports can be used for transparent uplink to the HBA, doubling the throughput available compared to using a single channel uplink. Since 6Gb SAS transfers approximately 600MB/s, splitting it in half leaves 300MB/s available for each hard drive channel in simultaneous utilization. That’s enough to saturate my slow 5k drives. Without this dual uplink, I would be limited to 120MB/s per drive at full utilization, which would be a performance bottleneck.
Breaking down the server, I took the opportunity to perform some much-needed cleaning. Although not particularly old, this device has had to live in some fairly awful conditions, including the dustiest room in the dustiest house in the dustiest neighborhood I have ever lived in. Unfortunately, I don’t have filters for the HDD bays, which serve as the primary system intake (the top radiator is the primary exhaust). They also live at ground level. Addressing this enclosure shortcoming is on my to-do list.
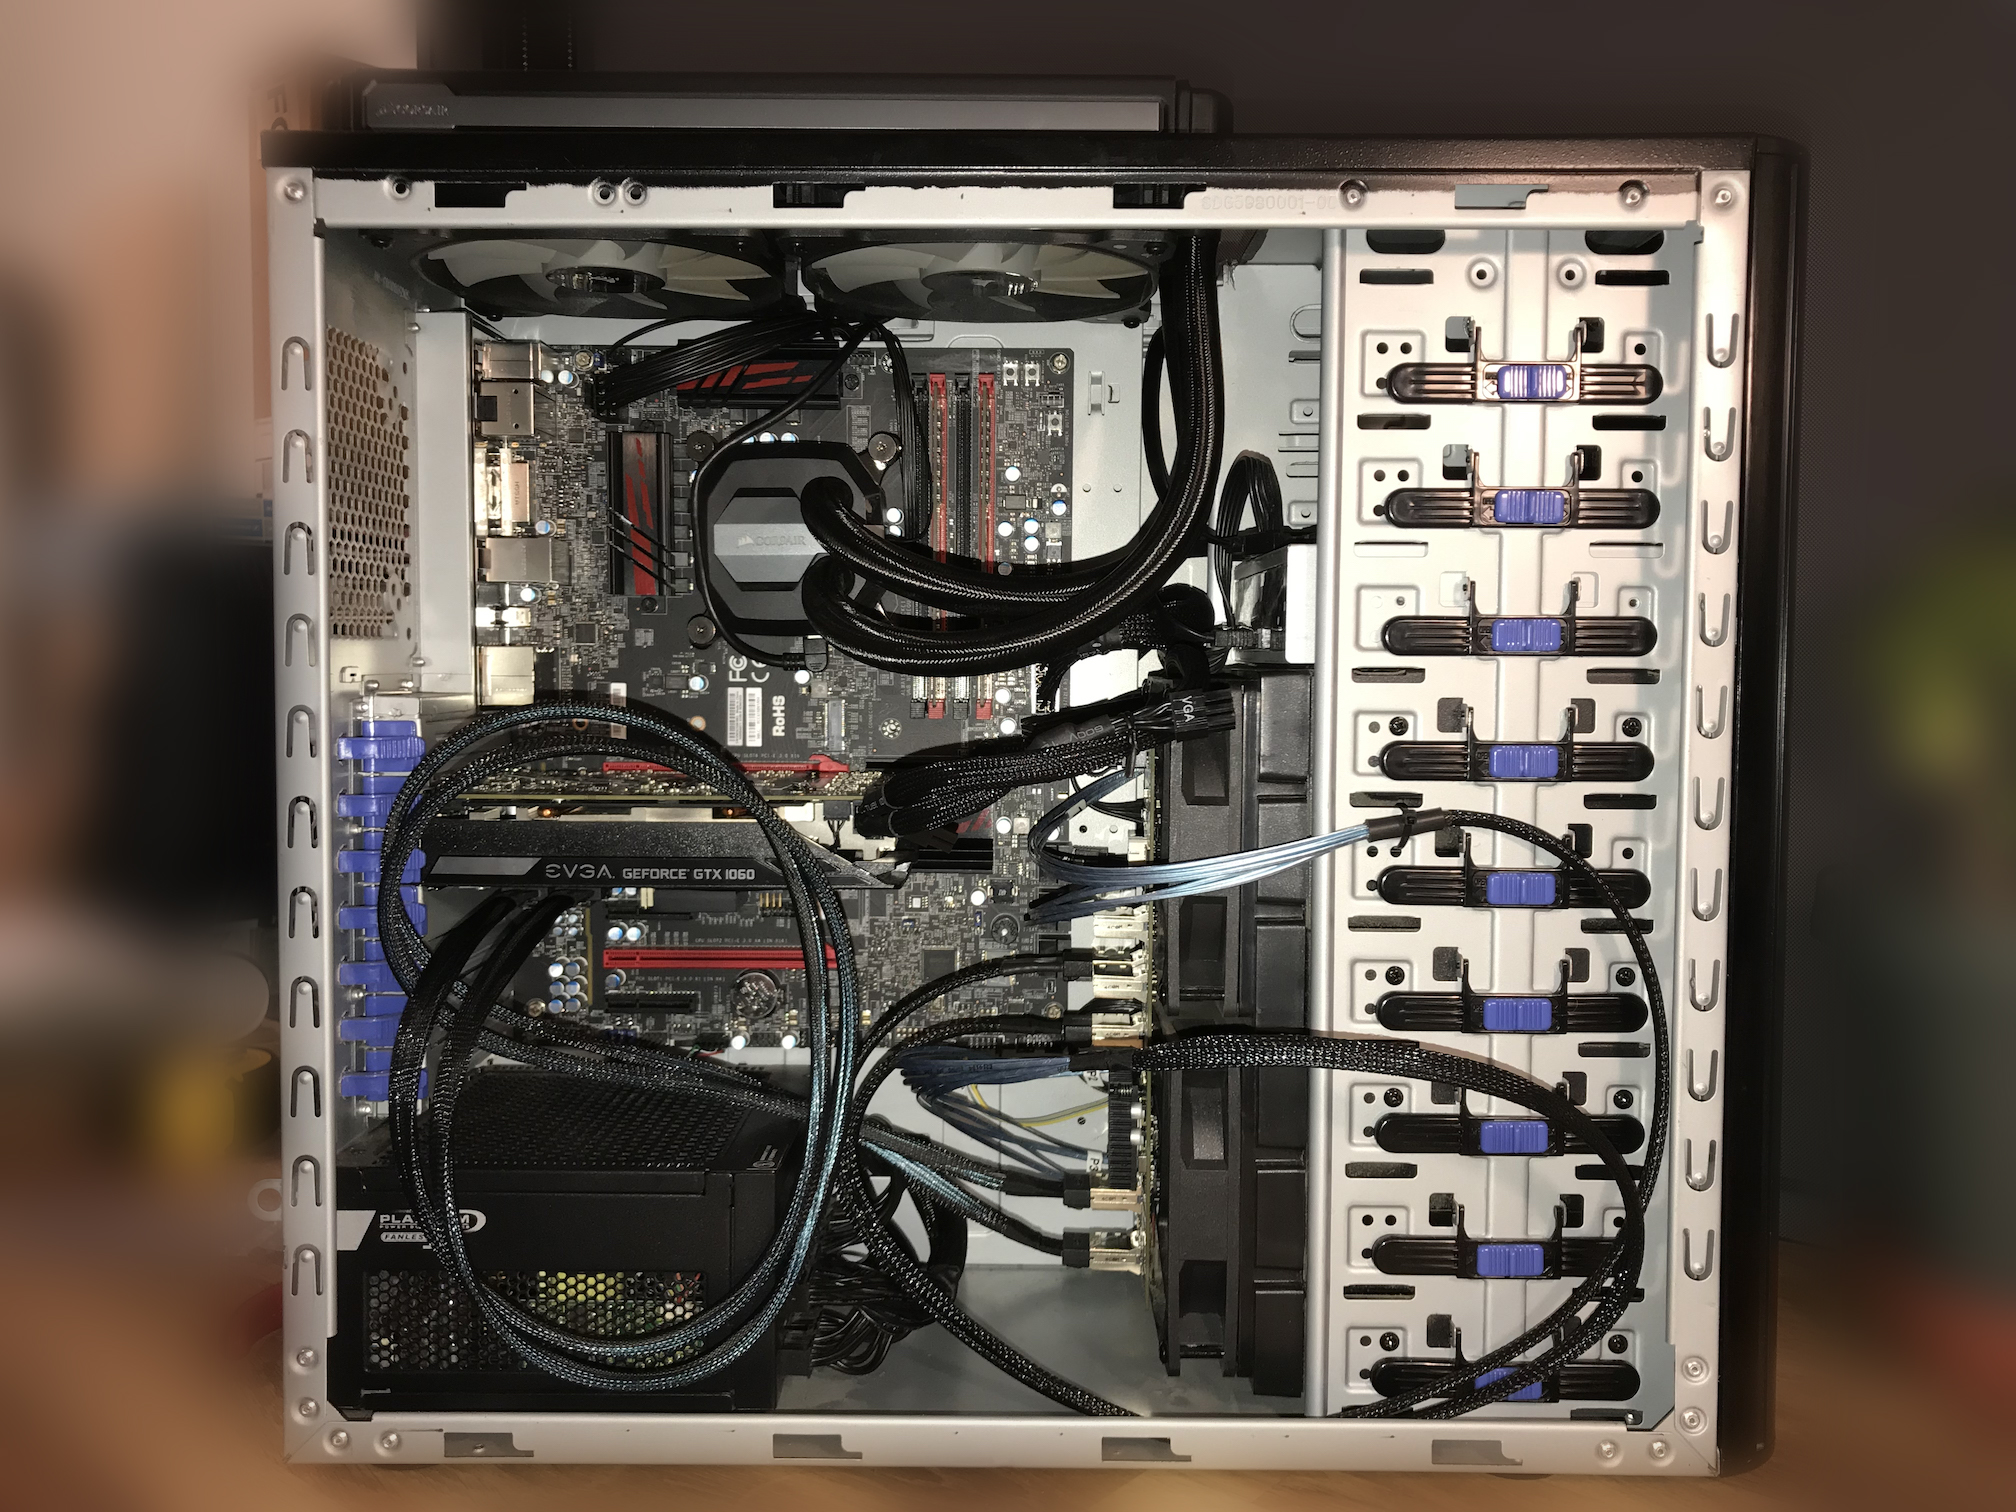
As you can see the case fits my components fairly well, and I’ve used the back panel cable management for everything except the SAS cables. This includes fans, pump, front IO, boot disk, and even the motherboard and CPU power supply cables. It’s quite tidy without the SAS cables. Unfortunately there is no way to terminate the SAS cables myself to custom length (the plug ends are actually PCBs), and the cables really don’t like to be bent and do not hold their shape at all, so they get to be spaghetti.
The SAS expander is simply suspended by its Molex 4-pin power connector (don’t crucify me: it doesn’t weigh a lot, this system doesn’t move, and it’s only temporary while I sort out a new case) and held in position by the fairly stiff SAS cables.
The GPU has been mounted in the primary PCIe slot. The IBM M1015, mounted below it, is half-height and so does not obscure the GPU intake fan too badly.
The case will soon be replaced with a Rosewill RSV-R4000 or RSV-L4500, to be rack mounted. This unit is plug and play with my existing hot swap cages, provides plenty of room for my GPU and water cooling loop, is extremely cheap, and even has a front panel intake filter.
Next time, the trials of GPU passthrough.