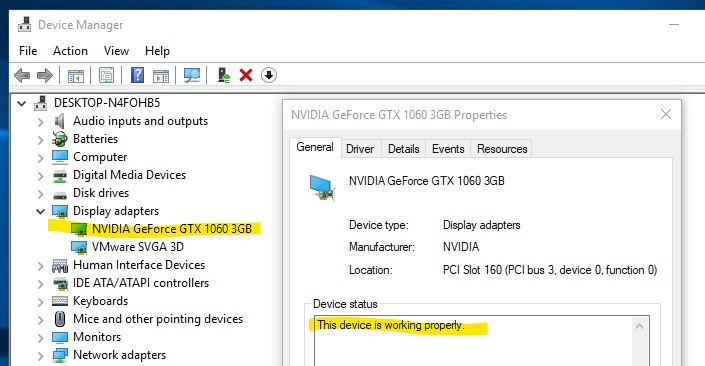
With the last couple of major revision to VMWare’s enterprise virtualization platform, ESXi, it has become relatively easy to robustly pass through consumer NVIDIA GPUs for use in virtualized gaming and other consumer/enthusiast configurations. However, although information on how to correctly configure this may be widely available, it’s usually poorly explained. After successfully configuring NVIDIA passthrough and driver support on a Windows 10 client, here’s my rundown of the requirements, process, and potential issues.
What You Need
- A virtualization server with an available PCIe slot.
- An NVIDIA consumer graphics card. This should work on any card that’s still supported by NVIDIA’s drivers, without requiring the use of a specific driver version or unsigned driver hack.
- ESXi 6.5 or later.
- A Windows 10 VM. If you don’t have one, I’ll be covering cheap legitimate Windows 10 licenses in a future post.
How to Proceed
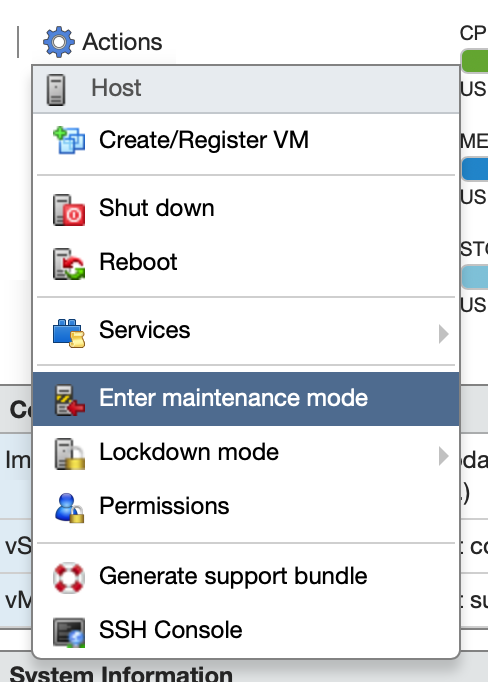
Put the ESXi host into Maintenance Mode, shut down the server, and install the GPU. We’ll have to reboot the ESXi host fully at least once, so set Maintenance Mode to prevent any VMs from automatically booting.
Reboot the server and configure the BIOS. If you’re using a server motherboard, you probably don’t have to change anything. However, those using a consumer desktop motherboard may need to change their default display device settings if they’ve been using the onboard graphics of their CPU. Note the following requirements: Intel Virtualization Technology (vT-d) must be enabled to support PCIe device passthrough, the GPU must be enabled as the primary display device, and a display may need to be connected during boot. If you’ve made any changes, save and reboot the server. Caveats: I have not yet been successful at simultaneously passing through both the integrated graphics on my Intel CPU and any external GPU. I believe that this is an issue with my consumer motherboard BIOS only allowing one of the graphics devices to be enabled at a time, but I don’t have a second PCIe GPU to test this theory with. I have confirmed passthrough of the Skylake onboard Intel HD Graphics 530.
Configure PCIe device passthrough. Now that you’ve fully booted the server, open up the ESXi web client. Select Host→Manage→Hardware→PCI Devices. You should see your GPU in the device list. As such:

If not, shut down the server and ensure that the card is fully seated and that you’ve correctly configured your BIOS. Select the GPU in the Devices list and click “Toggle Passthrough”. For NVIDIA GTX series with HDMI audio, you’ll also see an onboard high definition audio device, which may also be selected when you select the GPU itself. These should be treated as a single device, always passed through to the same VM. Ensure that you enable passthrough on both.
Reboot the server. A reboot is necessary to enable PCI Device passthrough. If you’re using a consumer motherboard with the GPU selected as your primary display, you will lose access to the hardware console part-way through the boot process. This will occur at “dma_mapper_iommu loaded successfully”, which is the PCI device passthrough module. When ESXi loads this module with a configuration for passthrough, it will take control of the passed-through device so that it can be made available to VMs. If the passed-through device is set as your primary display when ESXi boots, it will simply cut out the display at this point. However, ESXi will still boot (barring any other errors) and run just fine.
You can now remove the ESXi host from Maintenance Mode.

Configure PCI Device Passthrough. While it is powered down, open up the settings for your Windows 10 VM. First, add the GPU and its associated audio device under Virtual Hardware→Add other device→PCI Device. You must also allocate all of your VM’s RAM at this point, since PCIe RAM mapping doesn’t work properly with dynamically allocated RAM. Ensure that you have reserved all guest memory. It shouldn’t be necessary to lock it, but it won’t hurt. Save and close the settings window to repopulate the Advanced Settings dialog.
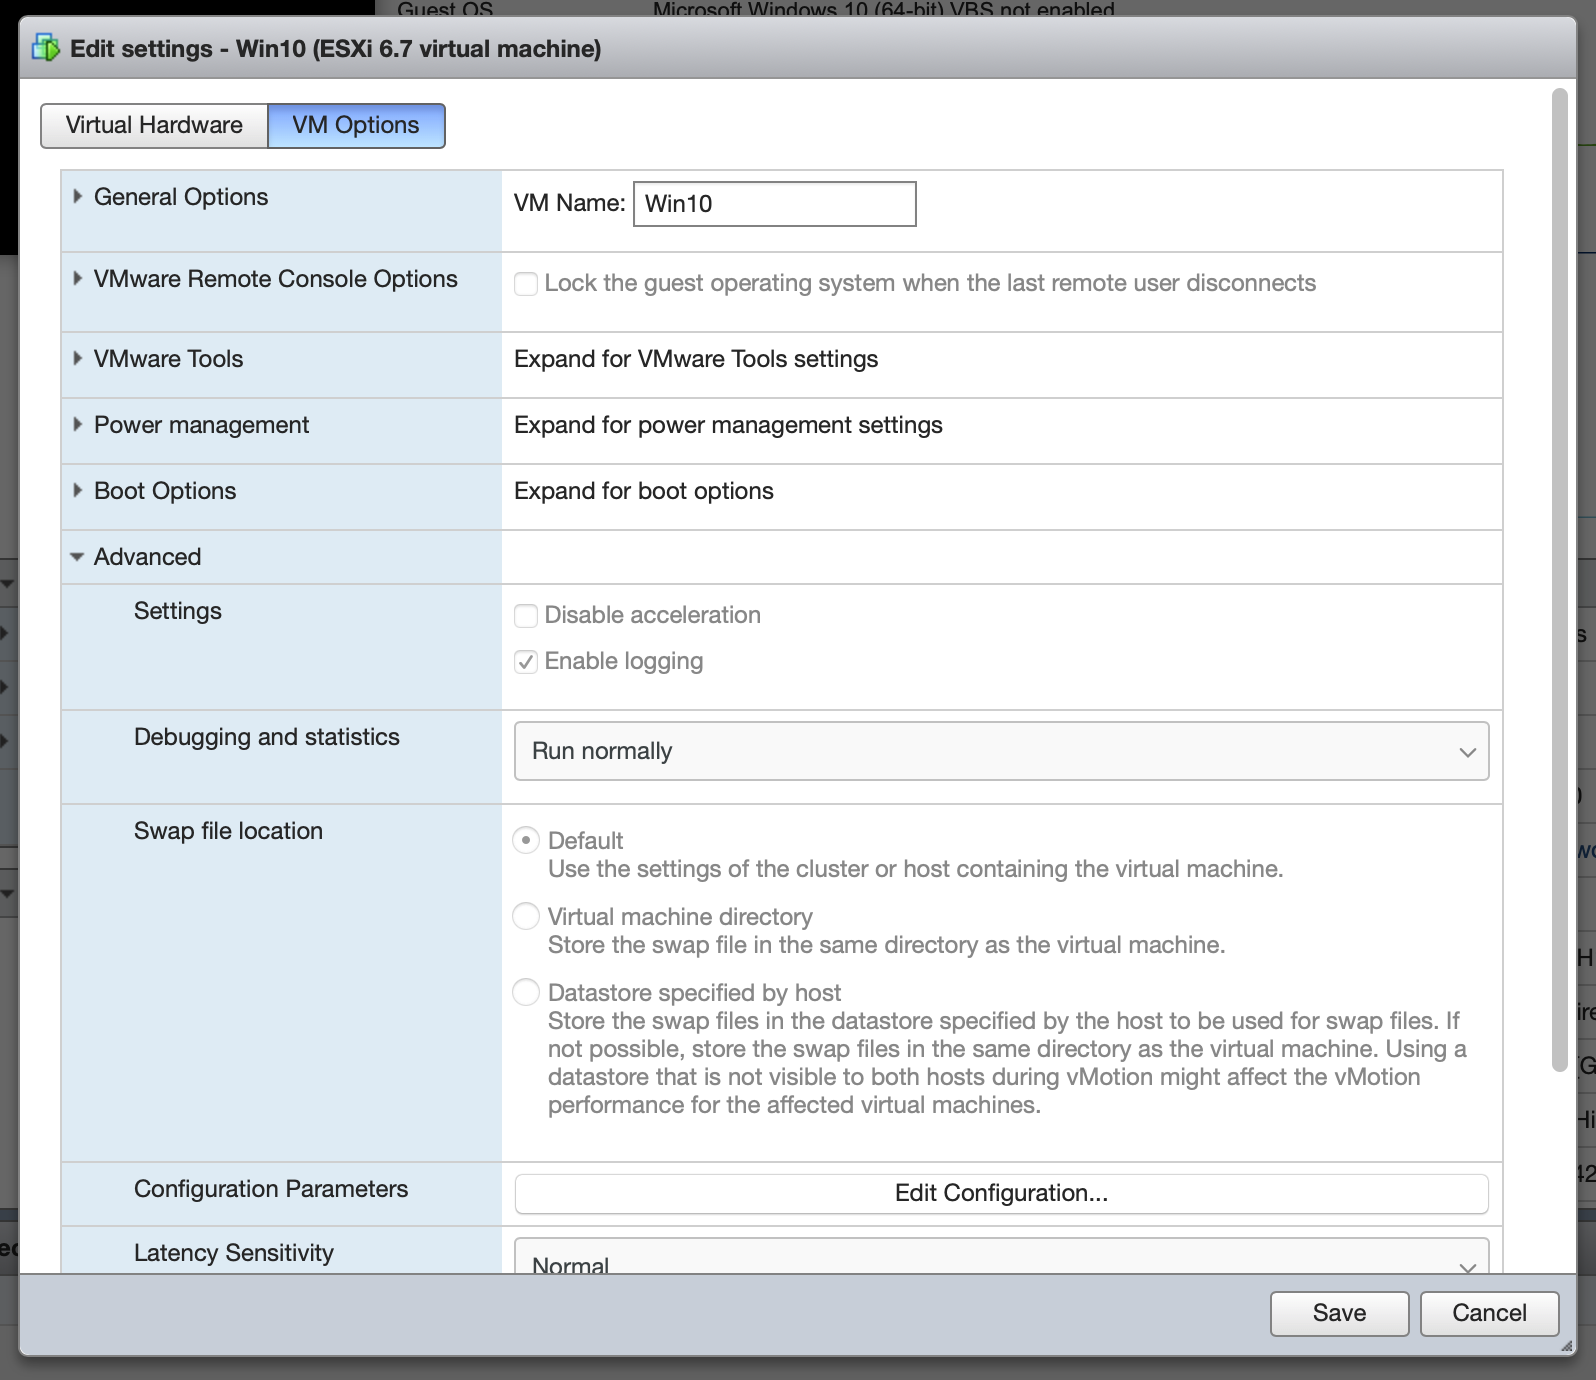
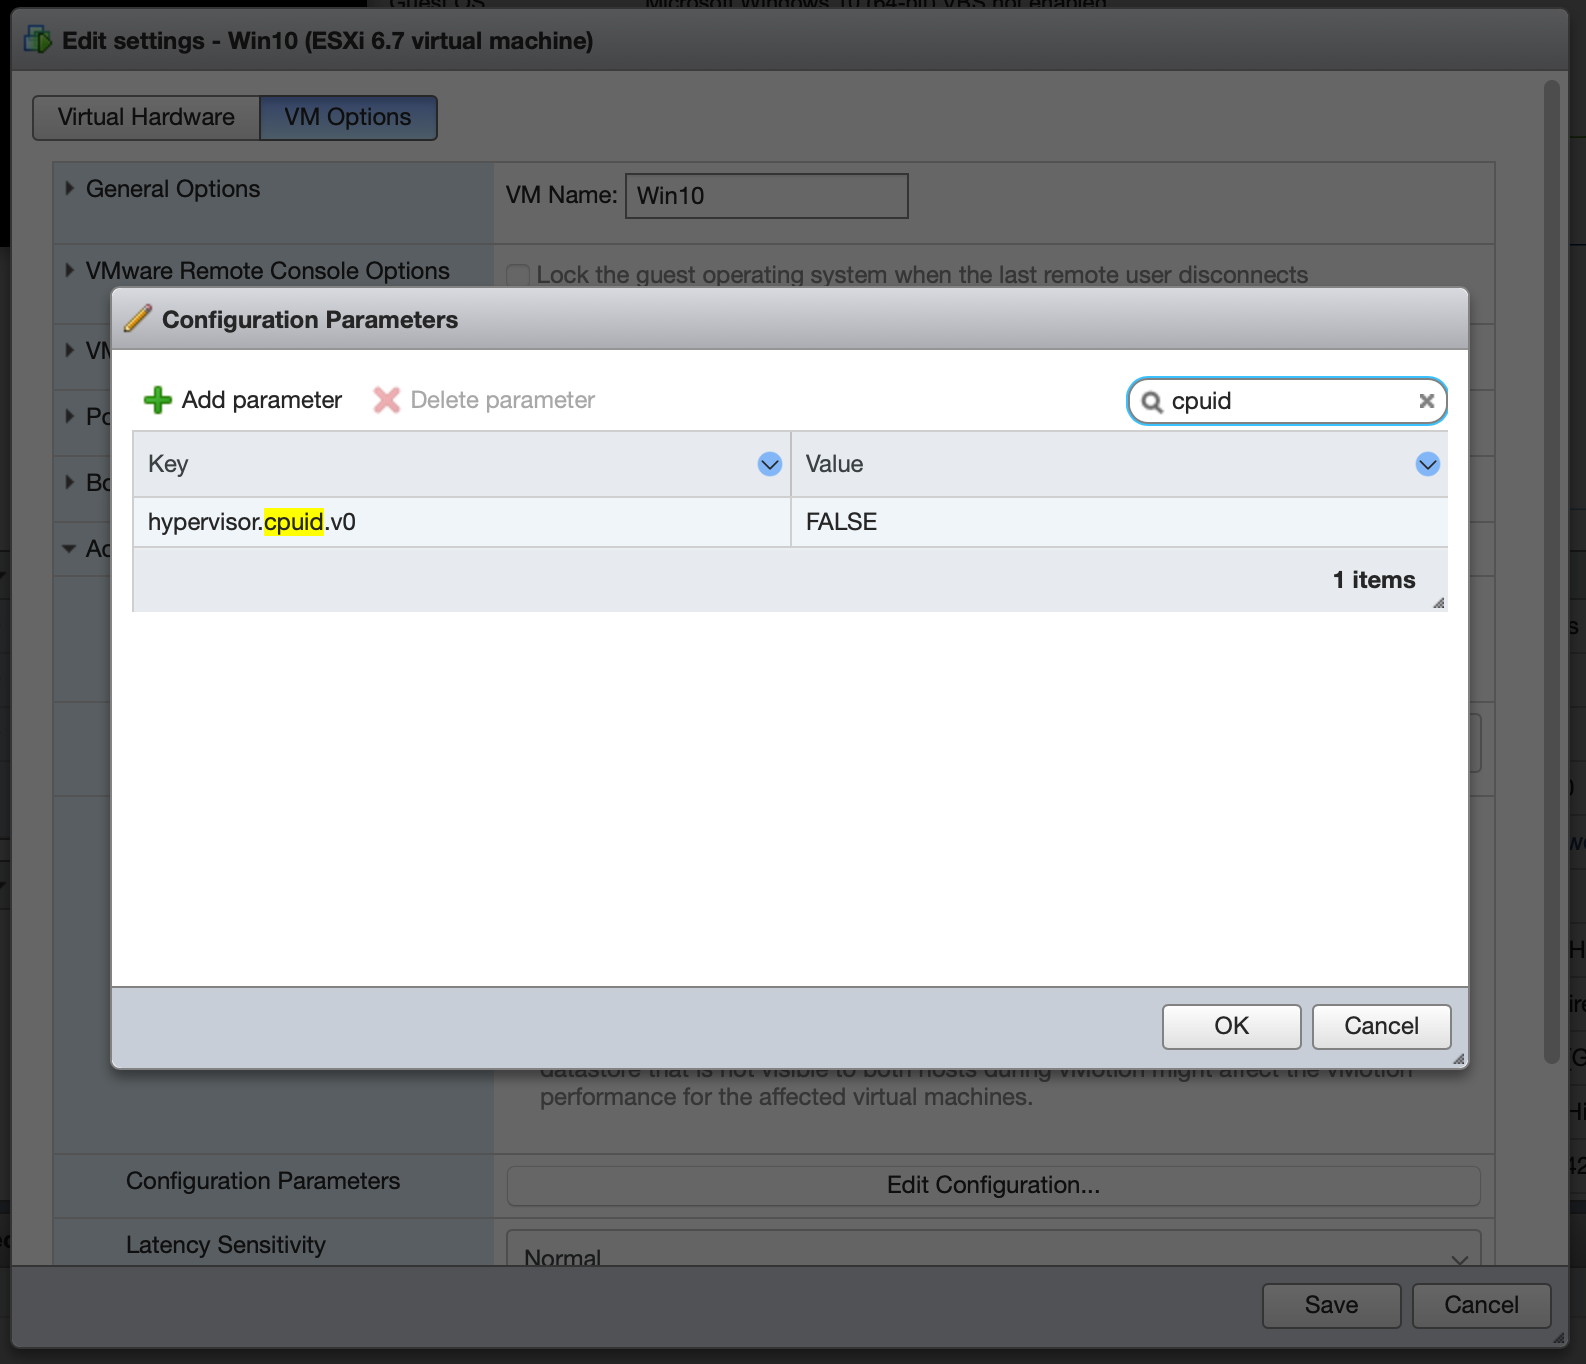
Configure Advanced Settings. Reopen the “Edit settings” dialog and select VM Options→Advanced→Edit Configuration. There are a couple flags which need to be added. For the GPU and its audio device, we have to disable Message Signaled Interrupts by setting pciPassthruX.MSIEnabled=FALSE for both devices, where X is the device passthrough number (zero-indexed, usually 0 and 1 if they’re the only PCI devices passed through to the VM). This requirement and procedure is documented by NVIDIA, who claim that it only applies to ESXi 5.0 and 5.5. However, in my configuration, this issue persists in 6.5 and 6.7, and results in lost interrupts which cause the display driver to flicker and crash, and the audio driver to stutter. This may be affected by BIOS PCI device setting for firmware mode being set to legacy (instead of EFI), but I don’t know.
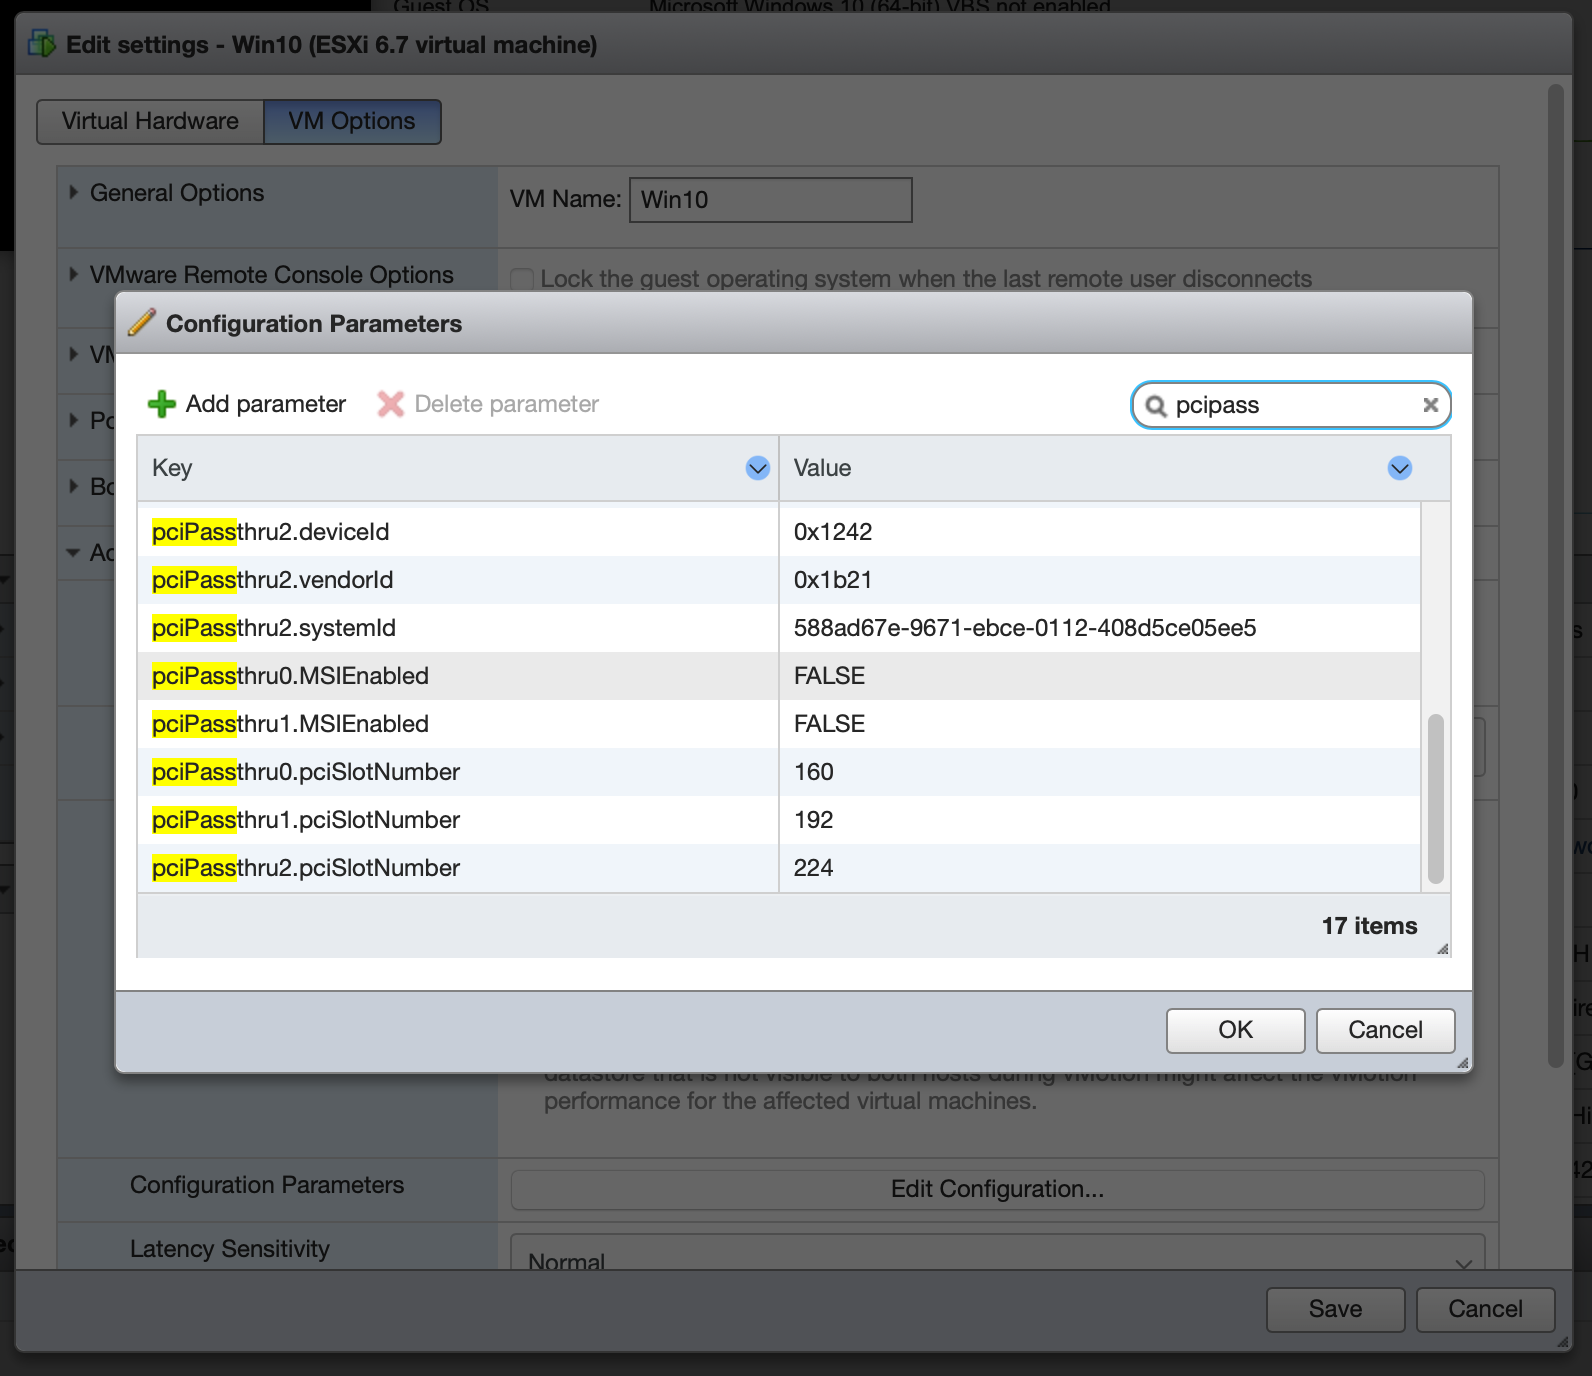
Next, configure hypervisor masking by setting hypervisor.cpuid.v0=FALSE. This prevents the VM OS from detecting that it’s being run under virtualization, which is necessary to prevent the NVIDIA driver from crashing.
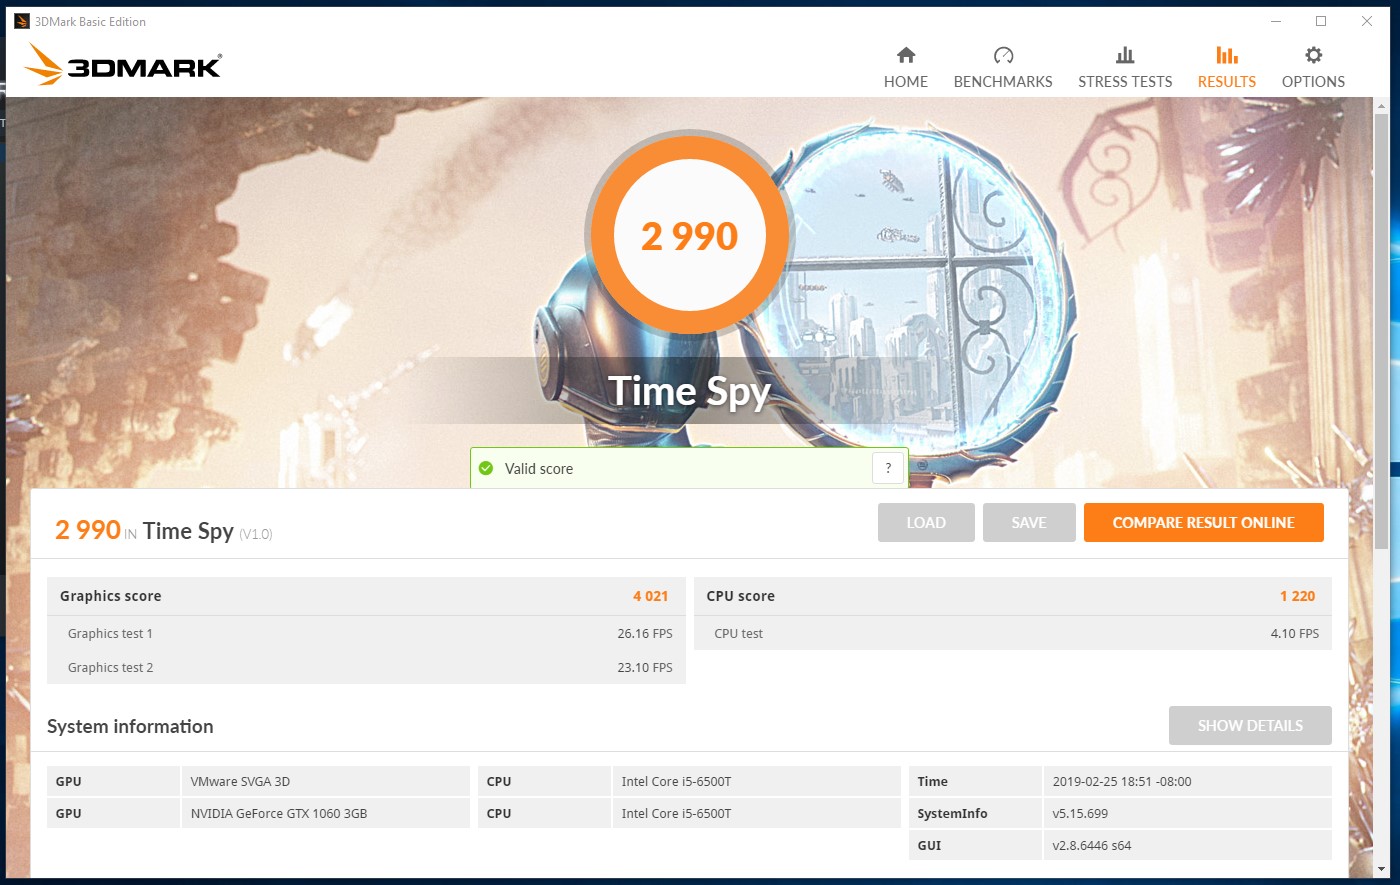
Now you should be able to boot the Windows VM and simply install the official NVIDIA drivers as normal! Behold your success, the NVIDIA driver running under ESXi!

In my configuration, I am able to run 3DMark Time Spy surprisingly well, with a tolerable 25–30fps throughout most of both graphics tests at 1080p, giving a graphics score of 4021. However, performance is dramatically CPU-constrained due to the i5-6500T’s low base clock and failure to properly Turbo in my current configuration. The physics test reflects this with an appalling framerate of around 4 fps and a CPU score of 1220. Overall, leading to a score of 2990.
We’ll see if some improvement cannot be achieved with a little judicious CPU overclocking.
Update: 26 Feb 2019
After extensive fiddling with various BIOS settings, I am still unable to get ESXi to play nice with passing through both the NVIDIA GPU and the onboard Intel GPU. I have, however, recovered the ESXi boot/console display, which no longer hangs at mmio initialization after I set the PCIe device option rom execution to EFI. This behavior reverts if I set “Video option ROM” to any value other than “Legacy”. Anyways, back to GPU troubles:
I have confirmed that this is not a hardware compatibility/functionality or configuration issue by booting Ubuntu 18.10 on the server, which is able to utilize both display devices by default. There is no problem whatsoever in having both GPUs enabled in the BIOS, which are then utilized by Ubuntu. It also respects the BIOS setting for Primary Display, and which is set as primary in BIOS has no impact on functionality.
I therefore conclude that there’s an issue with ESXi when using multiple GPUs. Although both GPUs show up correctly in the hardware listing, and can be set to passthrough, the NVIDIA GPU cannot be used if the Intel GPU is enabled in the BIOS (for example, if Intel GPU is also enabled in BIOS then I get Error 43 under Windows VM with NVIDIA GPU passed-through; disable Intel GPU and the NVIDIA card works fine). I have other PCIe devices connected and passed through which don’t seem to make any difference.
However, I note something strange: when I change the Intel GPU enabled/disabled in the BIOS, one of my other PCIe cards (LSI2008 SAS HBA) gets “lost”. It still shows up in the Host hardware list, but the VM hardware configuration line is blank. I believe it may be changing PCIe address, which is odd.
Can anyone report success getting two GPUs of any variety to pass through in ESXi? Leave a comment on the Reddit thread. I don’t have another PCIe graphics card on hand to test with, and due to hardware constraints would have to run one card at only x4, which is not ideal. And people want way too much money for their crummy old graphics cards.
Next test, which I will do some other day because I am tired of power cycling my system, will be switching which PCIe slot the GPU is in, on the off chance that having it in a non-primary slot will make some difference in the PCIe device tree that makes things behave better for ESXi.