Now in its second relatively trouble-free year, it’s finally time to get some upgrades on my hyperconverged homelab. First, however, a long-overdue introduction!
This project started out as a compact, low-power, ultra-quiet NAS build. However, I quickly decided that I wanted to virtualize and give myself more power and flexibility. At the very least, being able to run pfSense or another router/firewall appliance on the same device represented a significant benefit in terms of portability: the ability to plug into basically any network without making the NAS available on it was a huge potential benefit.
I decided to use a 35W Intel desktop processor and consumer motherboard. They’re economical and readily available, with plenty of products available for performance and cooling enhancement. At the time, Skylake (6th Gen.) was mature and Kaby Lake didn’t have an official release date, so I chose the i5-6500T. The $100 premium on MSRP and near total lack of single unit availability prevented me from choosing an i7-6700T.
For motherboard I chose Gigabyte’s GA-H87N-WIFI (rev. 2.0), a mini-ITX motherboard from their well-regarded UltraDurable line. The primary driver of this decision was the onboard dual 1GBase-T and M.2 802.11a/b/g/n plus Bluetooth 4.0 via M.2 card. Dual LAN was critical for the device’s potential use as a router, as virtualizing my NAS would require utilizing the single available PCIe slot for an HBA or RAID card.
RAM was sourced as 2x16GB G.Skill Aegis modules (still the cheapest DDR4-2133 2x16GB kit on the market), providing a solid starting point while leaving two DIMMs free for later expansion to the motherboard and processor’s max supported 64GB. I sourced a Seasonic SS460FL2 a 460W fanless modular PSU, a cheap SanDisk 240GB SSD for a boot drive, and Corsair’s H115i all-in-one liquid cooling loop.
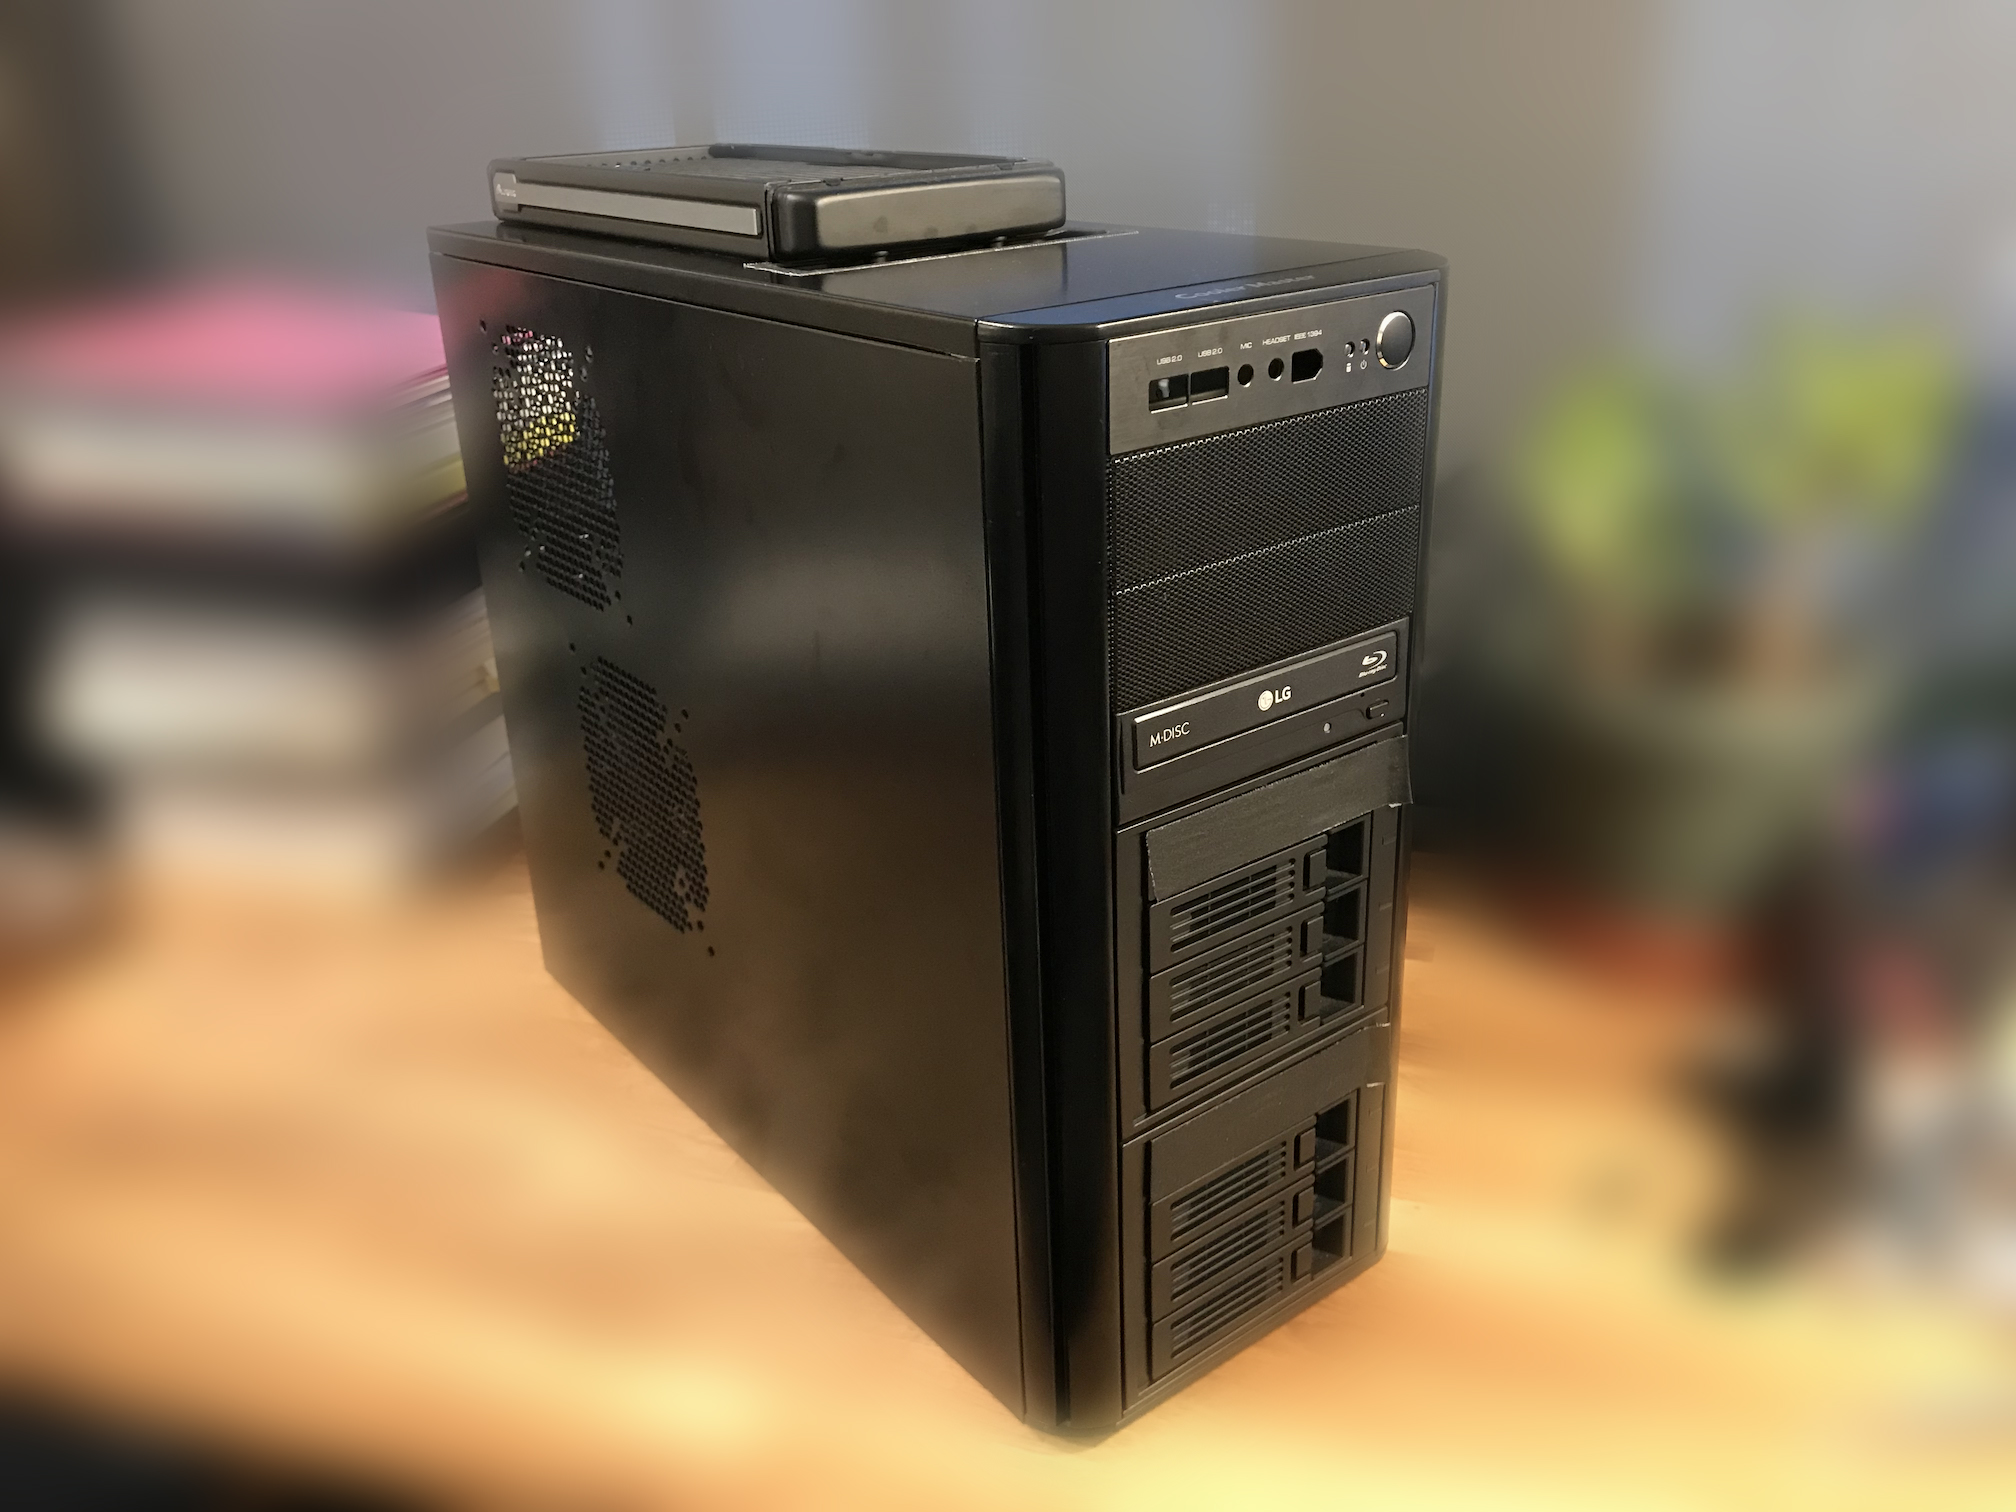
At this time I was still case-less, and waffling on the purchase of a U-NAS NSC-800 hot-swap enclosure, when I discovered Rosewill’s 4-in-3 hot swap cages. I quickly located the Cooler Master Centurion 590 on local Craigslist, which represented a decent compromise on size and offered 9 5.25″ drive bays.
The final piece of the puzzle was the HBA, an IBM M1015 RAID card which I cross-flashed to LSI generic IT Mode firmware. See this other post for details. With that, the build was hardware-complete and went together (fairly) smoothly. Only minor case modification was required to fit the ridiculously over-sized water cooling radiator, which had to be mounted on the top of the case with the fans inside, since the case was not designed for water cooling and here was inadequate clearance above the motherboard.
I installed ESXi on the boot disk and then installed FreeNAS into a VM. (Yes, I should have drive redundancy for my VM datastore.) After flashing the M1015 everything was relatively plug-and-play, set-and-forget, with the only notable downside being that the motherboard refused to POST without detecting an attached display. That issue was solved when I discovered that an HDMI VGA adapter I purchased acted as a display simulator. This system served me well for the last couple years, but recently I’ve wanted to expand my capabilities. Having a single PCIe slot is somewhat limiting, especially since I didn’t end up buying a mini-ITX sized case…